While building my new NAS, I came across the question how to provide a Time Machine backup solution for my OS X clients.
As I run OS X on all my machines I want to back up all data to my NAS. netatalk allows to create file shares for OS X
to provide a simple solution for system backups.
Kernel options tuning
Like you would do when setting up a Samba file server on FreeBSD, there are some kernel settings that should be tweaked
to allow more files to be opened at once. Edit /etc/sysctl.conf and add the following lines:
kern.maxfiles=25600
kern.maxfilesperproc=16384
net.inet.tcp.sendspace=65536
net.inet.tcp.recvspace=65536
Also, we should enable asynchronous I/O. This can be accomplished by adding the following line to the file /boot/loader.conf:
aio_load="YES"
To get it working without restarting, additionally execute the following command:
kldload aioInstallation
I’m using prebuilt binaries, so we’re using pkg here to install netatalk3 and nss_mdns:
pkg install netatalk3 nss_mdnsTo make mdns working, we also need to change the line starting with hosts: in /etc/nsswitch.conf:
hosts: files mdns dns
We also need to set up the configuration file for netatalk located at /usr/local/etc/afp.conf. Here’s mine:
;
; Netatalk 3.x configuration file
;

[Global]
hostname = Backups
hosts allow = 10.0.0.0/24
afp listen = 10.0.0.23
mimic model = TimeCapsule6,116
zeroconf = yes
uam list = uams_dhx.so uams_dhx2.so

[Homes]
basedir regex = /usr/home
time machine = yes
valid users = davd
Don’t forget to change your afp listen address to match the IPv4 address of your fileserver. I decided to share all
my home directories in /usr/home and enable time machine backups on any of those as I only use this server for backup
purposes. Additionally, I restricted access to my local user davd only. This can be seen as a whitelist for users
that are allowed to log in via AFP to their respective home directories. I also added a hosts allow line to restrict
access to computers on my network.
Please note, that you might not need the afp listen line at all but as I got the following error messages in
/var/log/afpd.log, I added it and the errors were gone:
Apr 28 21:12:39.828206 afpd[3321] {afp_config.c:190} (error:Default): no suitable network address found, use "afp listen" or "afp interfaces"
Apr 28 21:12:39.828240 afpd[3321] {main.c:327} (error:AFPDaemon): main: no servers configured
Apr 28 21:12:40.828627 afpd[3322] {dsi_tcp.c:362} (error:DSI): dsi_tcp_init(*): getaddrinfo: hostname nor servname provided, or not known
Afterwards we can enable all services and start them:
sysrc dbus_enable=YES
sysrc avahi_daemon_enable=YES
sysrc netatalk_enable=YES
service dbus start
service avahi-daemon start
service netatalk start
User creation
Now we need to create the user(s) specified in the config file to allow them to login. They are identified by their
respective system user, so you can create them using adduser. I decided to not give them a login shell so I chose
nologin. Now you can connect to those shares. Keep an eye on /var/log/afpd.log if something fails.
Enabling it on OS X
You might need to execute the following command on your clients to get your share listed in the Time Machine preferences pane:
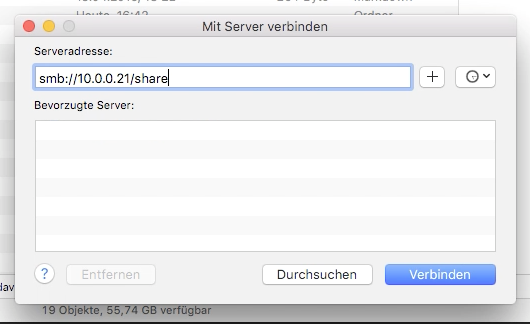
defaults write com.apple.systempreferences TMShowUnsupportedNetworkVolumes 1Then log in to your share from the Finder using “Go” => “Connect to server”.

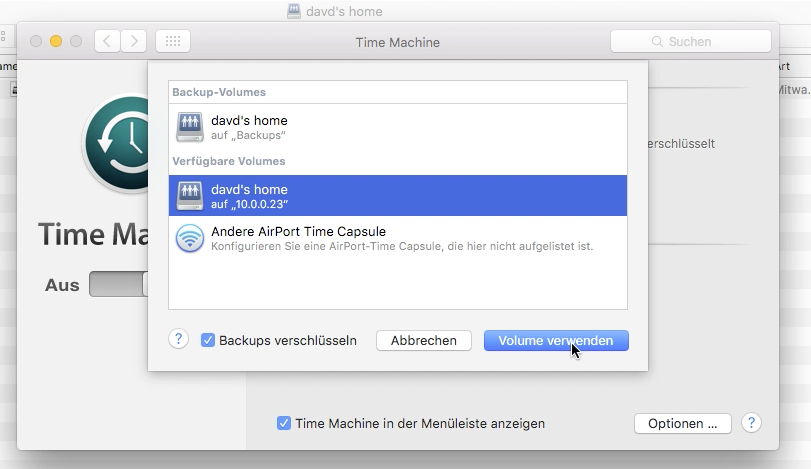
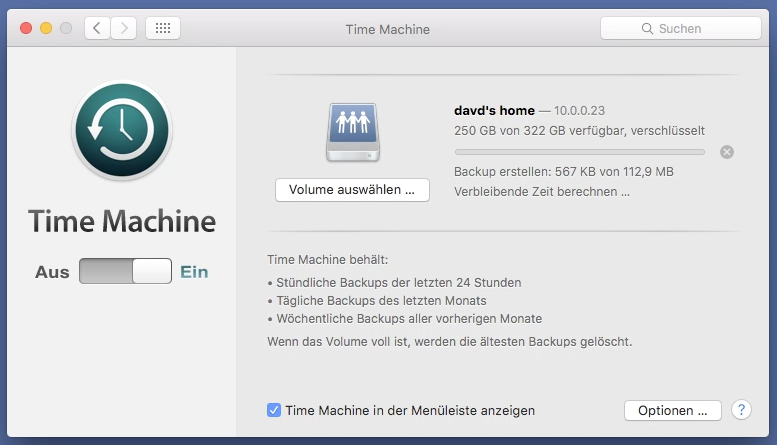
After you selected your share it should be visible within the Time Machine prefs pane whether or not you use Avahi for service announcement.

